How To Properly Solder Wires To A Circuit Board

How To Solder A Circuit Board Youtube

8 Things You Need To Know About How To Solder Wires To A Circuit Board
Thesolderblog Soldering Wires Together
How To Solder Wires Onto A Circuit Board When Adapting A Toy Youtube
Methods For Soldering Strained Wires To Circuit Boards
How To Solder Beginner Guide To Soldering Components On Tv Parts Youtube

Run the solder over the entire splice so it can melt and travel into the gaps between the wires.
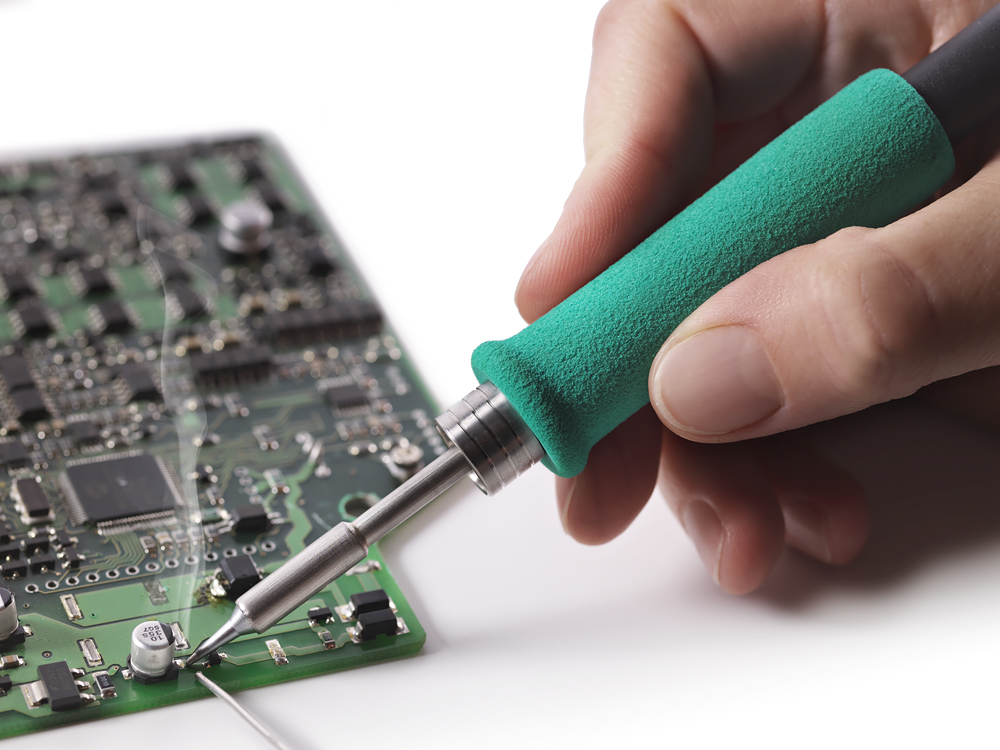
How to properly solder wires to a circuit board. When you have enough solder remove the solder wire. The basic fundamental of electronics soldering is to properly apply solder to create a conductive connection. When the Solder is melted it will automatically create a strong bond between the connector and wire.
Cut the wires to the required length. Soldering to component sockets or element pins. Heat up your soldering iron and once fully heated touch the tip to one end of the wire.
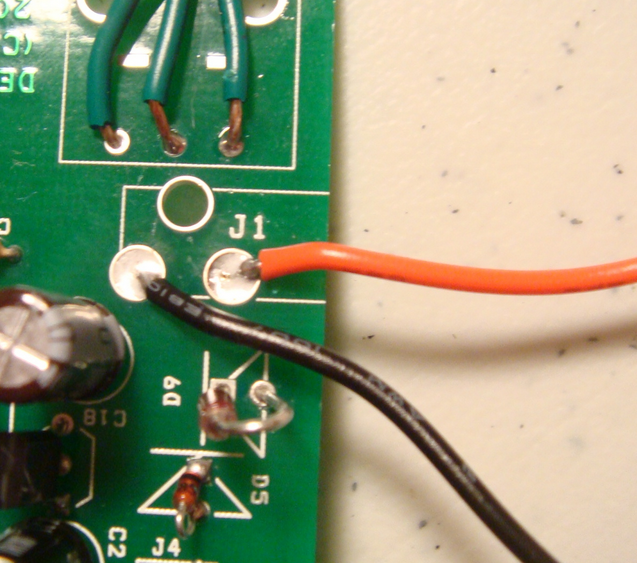
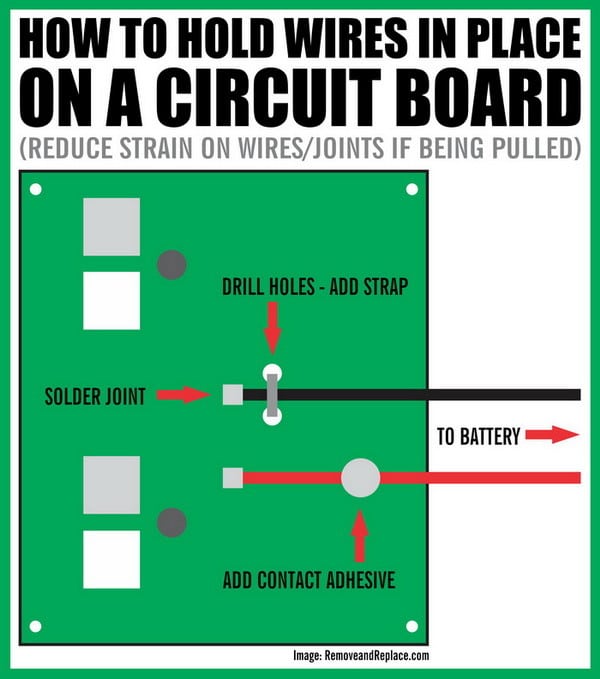
To prevent the wires from being pulled out again drill 2 tiny holes on either side of each wire. Tinning the Soldering Iron. I suggest placing the tip against one side of the wire to be soldered and pressing firmly against both the wire and the board to Induce Equil heat into both.
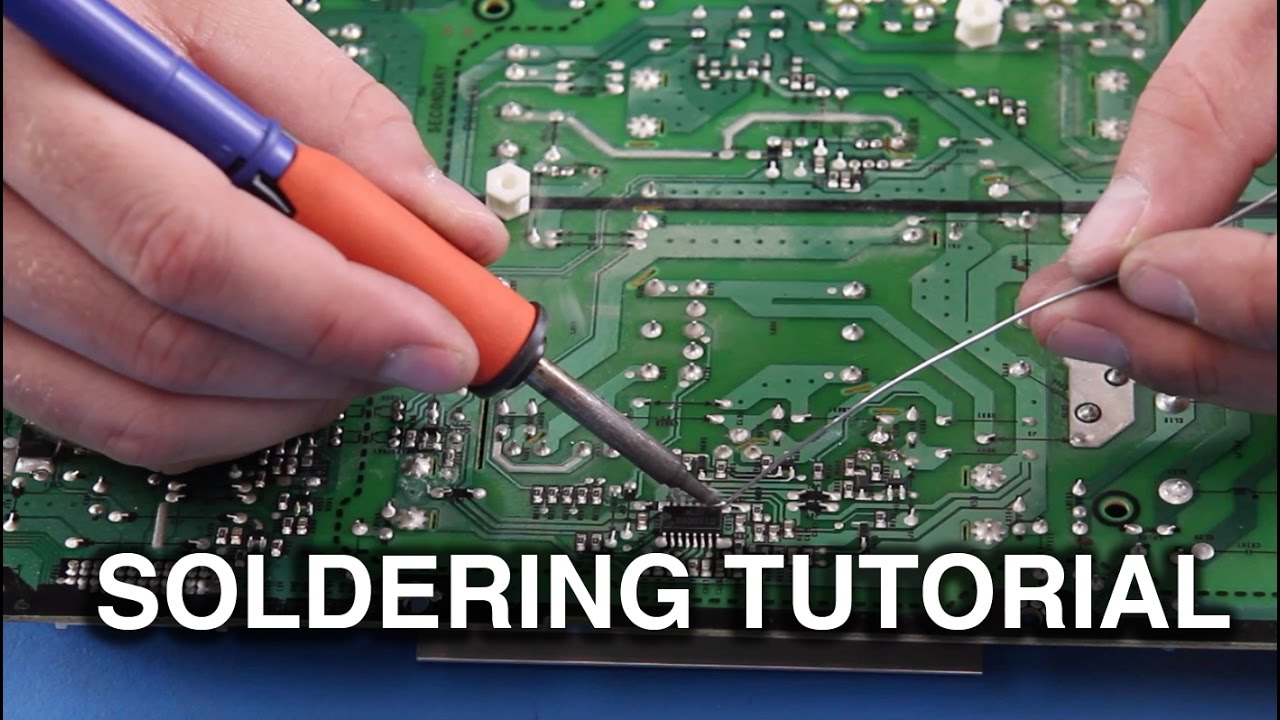
Put the tip of the iron on the pad so that it heats both the leg of the component and the pad of the circuit board. Hold it there for 3-4 seconds. Then remove the soldering iron tip from the joint.
Wrap one or two inches of solder around the tip while the iron is cold. You should cover all of the wires with solder. Set the iron to the solders temperature range.
Than Apply the solder to the opposite side. The only real thing that is gonna work is to solder the wire back onto the board. Then touch the soldering iron to the pad and wire from the opposite side.

Attaching Wire To Pcb Using Pcb Terminal Block Or Soldering The Wire Directly To Circuit Board Youtube

How To Solder Wires Properly On Pcb Youtube

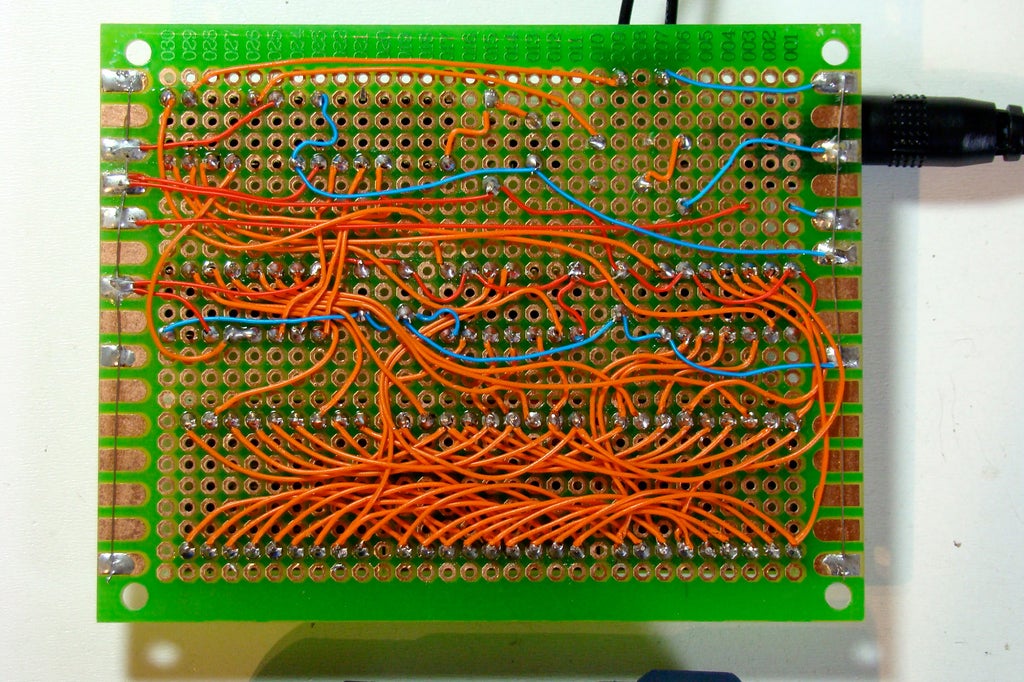
The Circuit Was Assembled On A Solder Circuit Board Using Jumper Wires Download Scientific Diagram
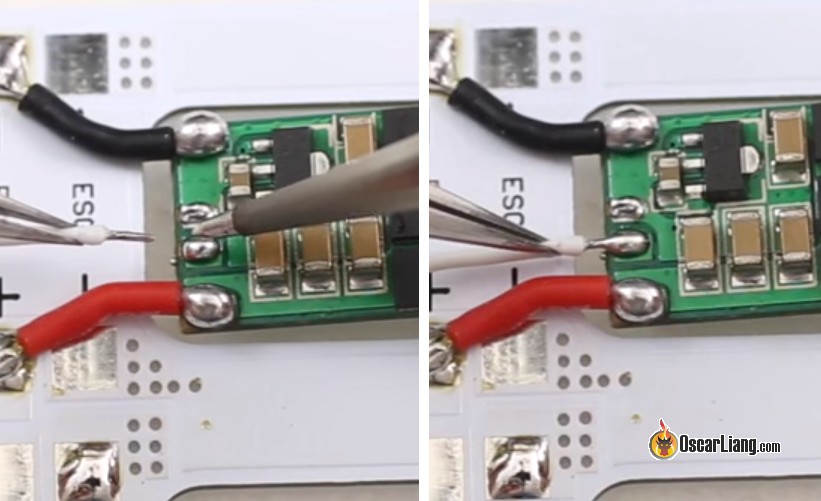
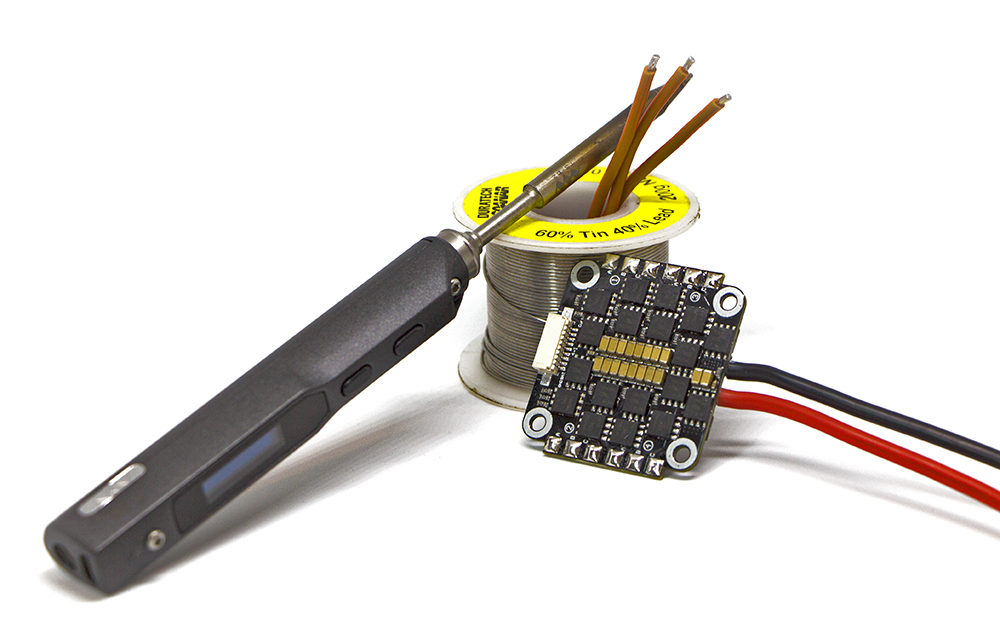
How To Solder Guide For Fpv Beginners Oscar Liang
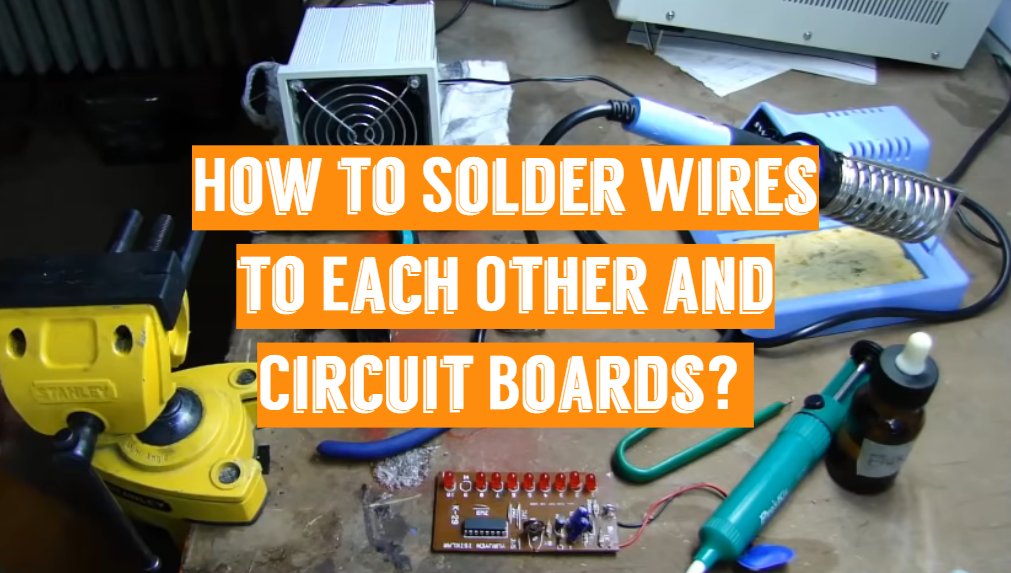
How To Solder Wires To Each Other And Circuit Boards

Off The Shelf Hacker The Art Of Soldering The New Stack

How To Re Solder A Wires To Circuit Board Sfx Pcb
Guide To Soldering Leds Ledsupply Blog
Learn How To Solder Like A Champion Getfpv Learn
How To Solder Guide For Fpv Beginners Oscar Liang
Soldering The Dos And Don Ts Jbc Blog

How To Solder Guide For Fpv Beginners Oscar Liang
How To Prototype Without Using Printed Circuit Boards 8 Steps Instructables


